What this module does
The Hardening module answers a simple question: which well-known entry points should you close to bots? It covers three classic WordPress weak spots.
Useful definitions: XML-RPC and user enumeration. To do it by hand and know what each change breaks, follow our guides how to disable XML-RPC on WordPress and how to stop WordPress user enumeration.
- Pingbacks: an old mechanism that lets attackers use your site to bounce attacks onto other sites.
- XML-RPC (
xmlrpc.php): a legacy remote publishing interface, often used to try passwords in bulk. - The author list:
/?author=1URLs, the/wp/v2/usersAPI, the author sitemap (wp-sitemap-users-1.xml) and oEmbed responses all reveal author usernames or names.
Why it matters
Automated attack tools probe these three points every time. Closing them shrinks your attack surface without changing anything for your visitors, as long as you don’t use the features involved.
The levels
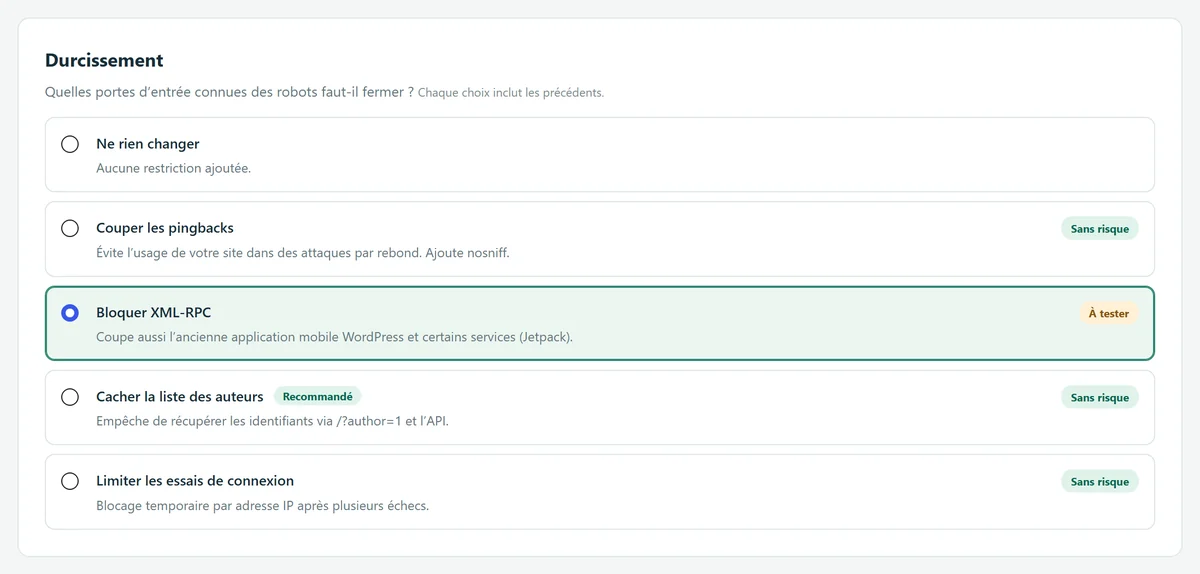
| Option | Effect | Version |
|---|---|---|
| No restrictions | No restrictions added. | Default |
| Turn off pingbacks | Removes the pingback methods from XML-RPC and adds the nosniff security header. | Free feature |
| Block XML-RPC | xmlrpc.php returns a 404. Also cuts off the old WordPress mobile app and some services (Jetpack). | Free feature |
| Hide the author list | Blocks author archives (/?author=), public /wp/v2/users requests and the author sitemap; removes the author name and URL from oEmbed responses; makes login error messages neutral. Other REST routes stay available, as do authenticated requests. | Pro feature |
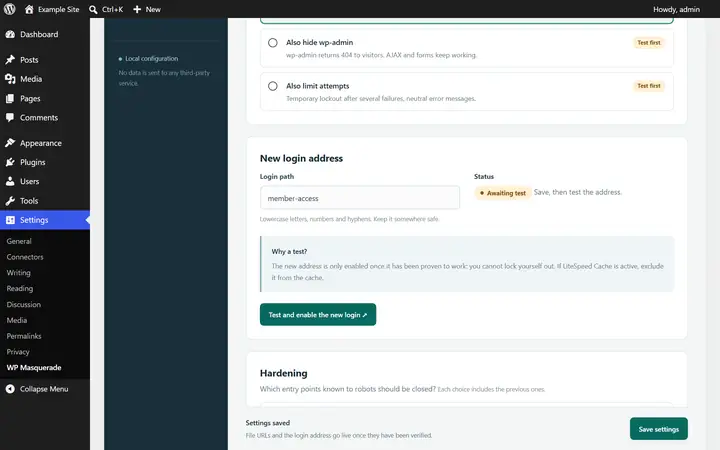
| Limit login attempts | Temporarily blocks an IP address after several failed attempts. | Pro feature |
Free or Pro
In the free version Free feature
- Pingbacks turned off, plus the nosniff header
- XML-RPC blocked (404)
With WP Masquerade Pro Pro feature
- Author list hidden: /?author=, REST API, author sitemap, author in oEmbed responses
- Neutral login error messages
- Login attempt limiting
- Additional security headers: X-Frame-Options, Referrer-Policy, Permissions-Policy, CSP, HSTS
How to set it up
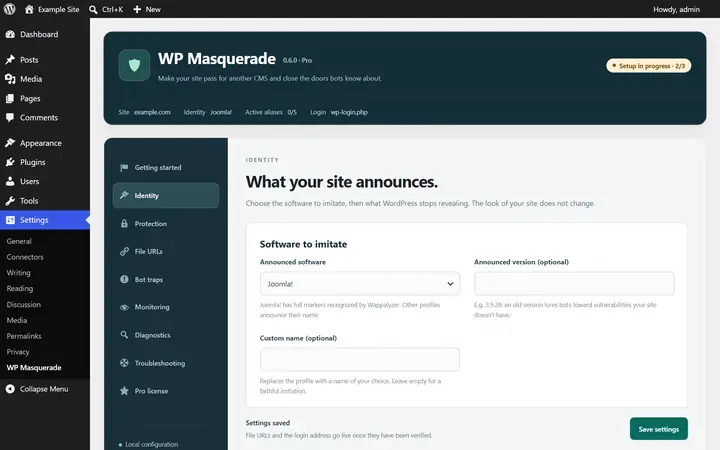
In the Protection tab, start with “Turn off pingbacks”: it’s risk-free. Move up to “Block XML-RPC”, or with Pro to “Hide the author list”, only if you don’t use the features involved: the WordPress mobile app, Jetpack, remote publishing tools, or integrations that read the user list.
Limits and precautions
- Hiding the author list closes some enumeration methods, but it doesn’t hide names published elsewhere on the site.
- Blocking XML-RPC can break mobile apps and remote integrations: check the ones you use.
- Hardening doesn’t fix vulnerabilities in themes or plugins, and it doesn’t replace a web application firewall.
Start free, upgrade to Pro when you’re ready
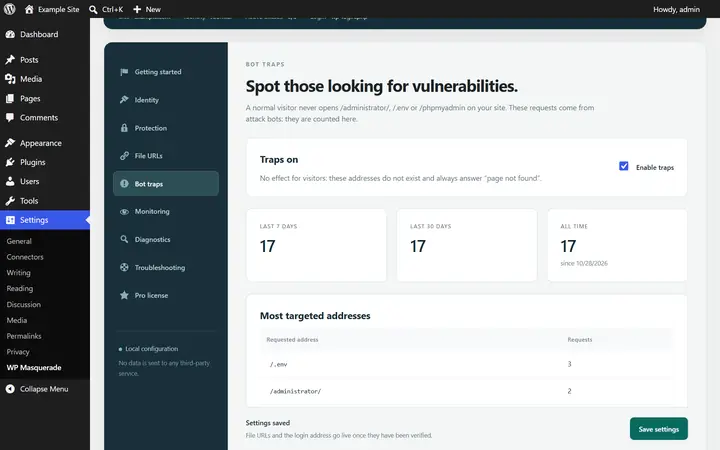
The free version already hides WordPress, moves the login page, blocks XML-RPC and counts bots. Pro locks down logins, renames file URLs and monitors your sites for you: known vulnerabilities, core integrity, activity log, email alerts and the update status of all your sites in your member area. From €59 per year excl. tax, far less than the cleanup offers whose prices we checked. Compare the costs.