What this module does
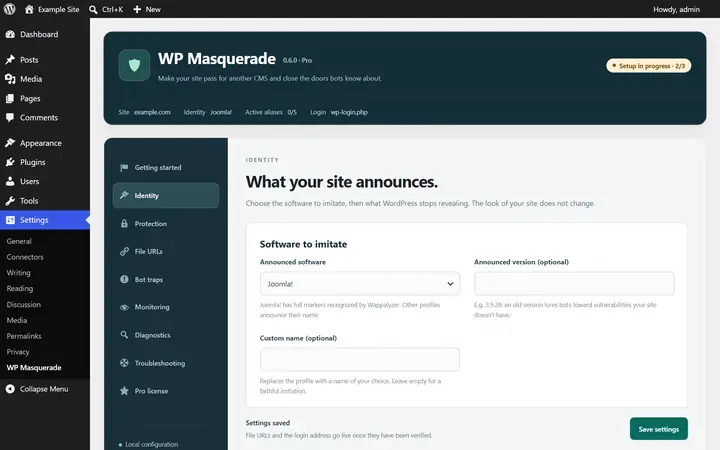
Every bot knows where to log in to a WordPress site: /wp-login.php and /wp-admin/. The Login page module gives you a custom URL, for example /member-area/, then closes the old one to visitors who aren’t logged in.
Why it helps
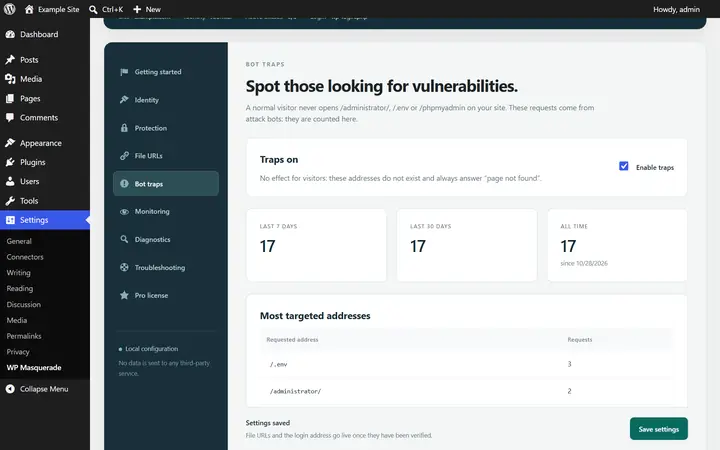
Mass password-guessing attacks go after the standard login URL first. When it returns “page not found”, most bots move on, your logs stay cleaner, and an attempt on the old URL can be counted as a trap.
Tested before it goes live
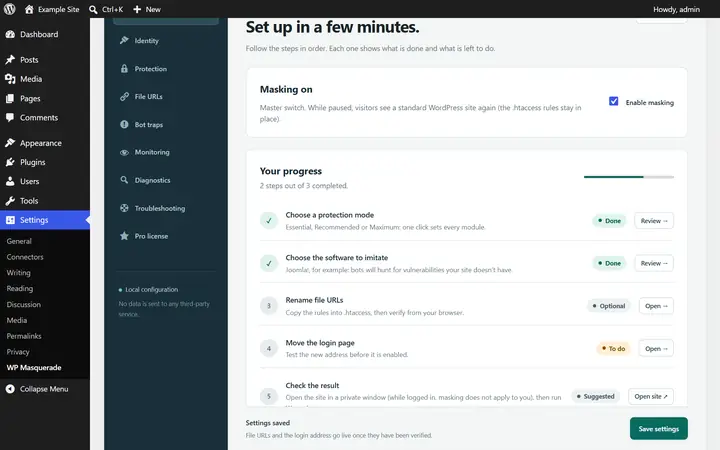
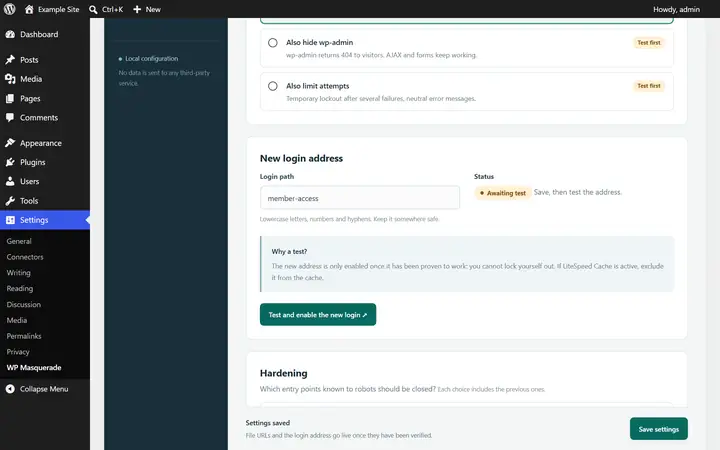
The new URL is only activated once it has proven that it works. After you save, the status changes to “Awaiting test”: click Test and activate the new login (Protection tab). If LiteSpeed Cache or another caching plugin is active, exclude the new URL from the cache first, as explained on the compatibility page.
Write down your new URL and keep it safe: it appears in the banner after activation.
Free or Pro
In the free version Free feature
- Custom login URL
- wp-login.php and wp-admin return a 404 to visitors who aren’t logged in; AJAX and forms keep working
- Safe activation test
With WP Masquerade Pro Pro feature
- Unknown AJAX and admin-post requests: 404 instead of the WordPress error; real ones keep working
- Attempt limiting and neutral error messages (see login attempt limiting)
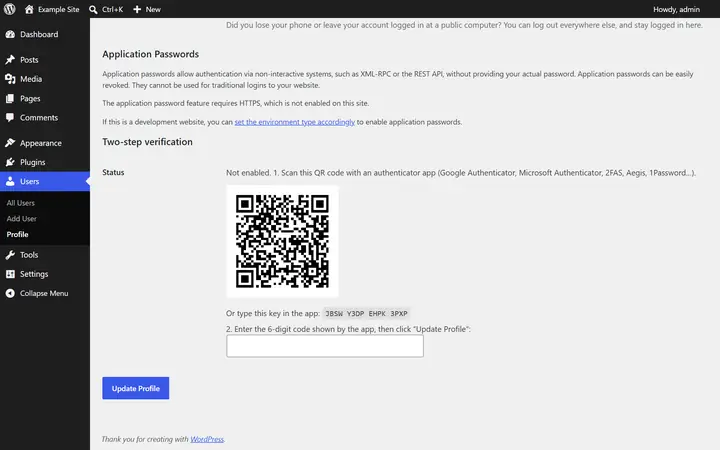
- Two-factor authentication (2FA) after the password
Levels
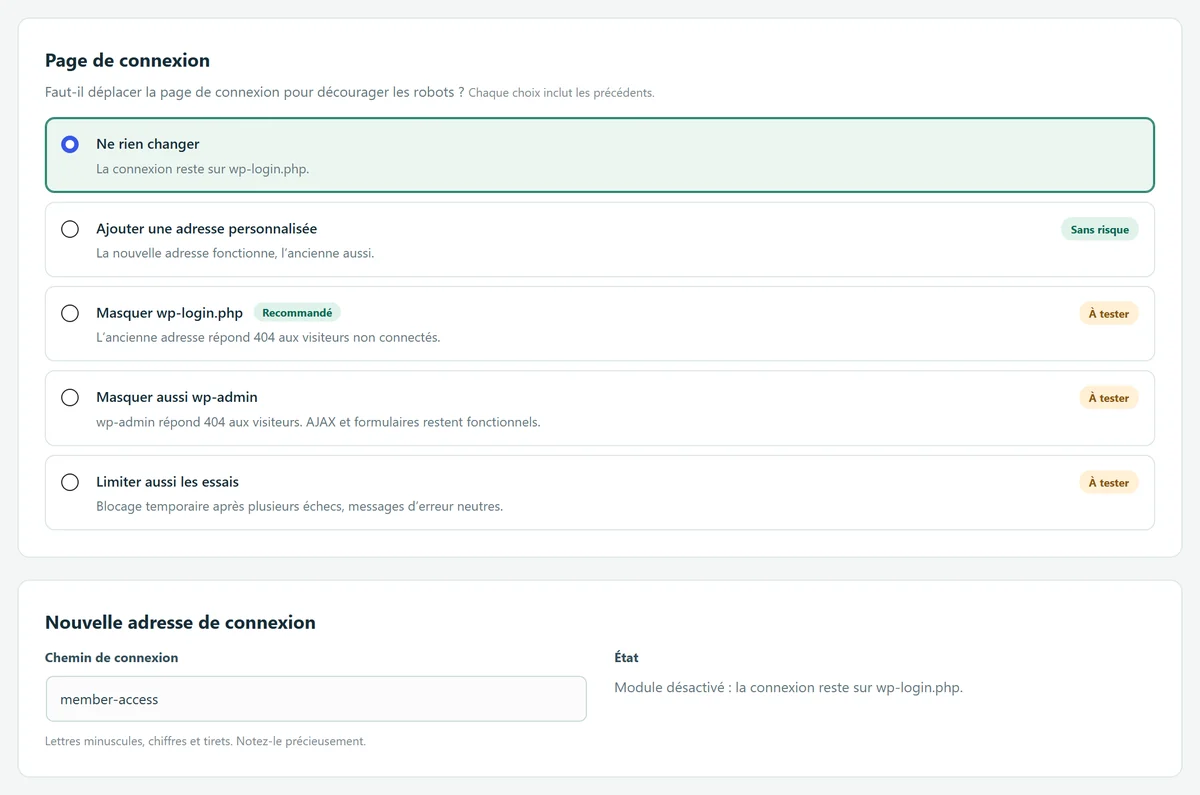
| Option | Effect | Version |
|---|---|---|
| No change | Login stays on wp-login.php. | Default |
| Add a custom URL | The new URL works, and so does the old one. Ideal for the transition. | Free feature |
| Hide wp-login.php and wp-admin | wp-login.php and wp-admin return 404 to logged-out visitors: the new address is never revealed. AJAX and forms keep working. | Free feature |
| Also silence AJAX errors | Unknown AJAX and admin-post requests also return 404 instead of the WordPress error. Real ones keep working. | Pro feature |
| Also limit attempts | Temporary lockout after several failures, neutral error messages. | Pro feature |
Choosing the URL
Lowercase letters, digits, and hyphens. The default suggestion is member-access; it’s better to pick a name unique to your site. Avoid a name that already matches an existing page.
Limitations and precautions
- Test on your own site: login, logout, lost password, password reset, registration, expired session, and login through a third-party service.
- Exclude the login URL from your page cache before testing.
- Don’t combine this module with WPS Hide Login, WP Hide, or Hide My WP: two disguises will conflict. The diagnostics flag them.
- If you get locked out, adding the line
define('CMS_MASQUERADE_DISABLE', true);to wp-config.php reopens wp-login.php. See recovery.
Start free, upgrade to Pro when you’re ready
The free version already hides WordPress, moves the login page, blocks XML-RPC and counts bots. Pro locks down logins, renames file URLs and monitors your sites for you: known vulnerabilities, core integrity, activity log, email alerts and the update status of all your sites in your member area. From €59 per year excl. tax, far less than the cleanup offers whose prices we checked. Compare the costs.