What aliases do
The URLs of your images, stylesheets, and scripts contain /wp-content/, /wp-includes/, /wp-content/plugins/… It’s the most visible sign of a WordPress site, and the easiest way to guess which plugins are installed.
Available in WP Masquerade Pro only. The free version doesn’t rename any file URLs. It does, however, hide the plugin’s own files (readme, translations) from scanners.
The File URLs module in WP Masquerade Pro replaces these paths with aliases of your choice on your public pages. A server-side rewrite rule maps each alias to the real folder. The physical folders are not moved: WordPress, your plugins, and your backups keep working normally.
| Folder | Default alias | Example |
|---|---|---|
| wp-content | assets | public-assets |
| uploads / media | media | gallery |
| wp-includes | system | runtime |
| Plugins | modules | extensions |
| Themes | skins | presentation |
Verified before going live
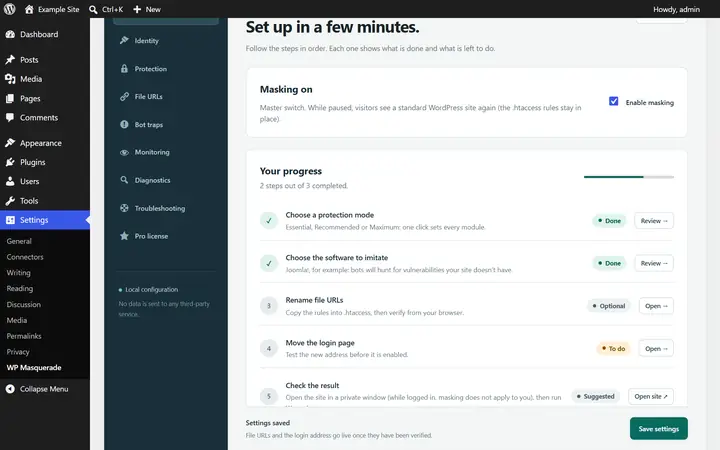
This is what sets WP Masquerade apart: nothing changes for your visitors until verification succeeds. Three steps:
- Choose the level and names, then save.
- Copy the rules shown into your .htaccess (or your Nginx, IIS, or Caddy configuration). The block matches your saved settings exactly.
- Verify and activate: your browser downloads a test file through each alias and compares its SHA-256 hash with the original. If everything matches, the new URLs go live. If not, the previous plan stays in place and the cause of each failure is displayed.
Verifying from the browser gets around the anti-bot protections some hosts use, such as TigerProtect at o2switch, which block requests a site makes to itself. See hosting compatibility.
What’s included Pro feature
- Aliases for wp-content, media, wp-includes, plugins, and themes, with server rules and in-browser verification
- “Suggest paths for this profile” button
- Blocking of the old URLs (404)
- URL rewriting in inline scripts, JSON, and <style> blocks, as well as in the optimized output of LiteSpeed Cache and WP Rocket
- Verified restore of the previous plan
Levels
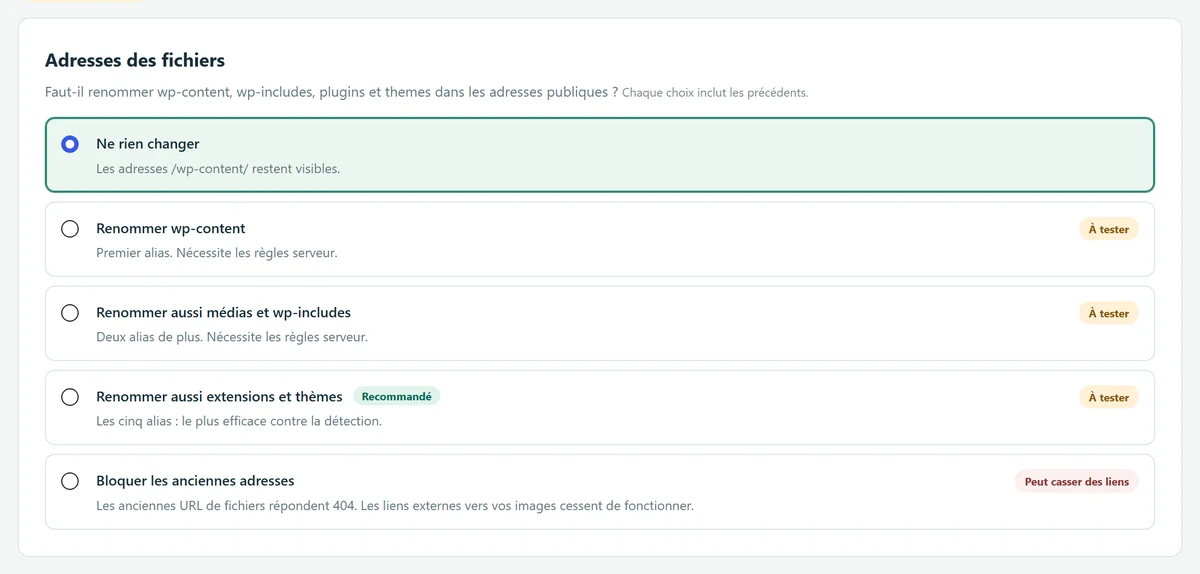
| Option | Effect | Version |
|---|---|---|
| No aliases | /wp-content/ URLs stay visible. | Default |
| Rename wp-content | First alias. Requires the server rules. | Pro feature |
| Also rename media and wp-includes | Two more aliases. Requires the server rules. | Pro feature |
| Also rename plugins and themes | All five aliases: the most effective against detection. | Pro feature |
| Block the old URLs | Old file URLs return a 404. External links to your images stop working. | Pro feature |
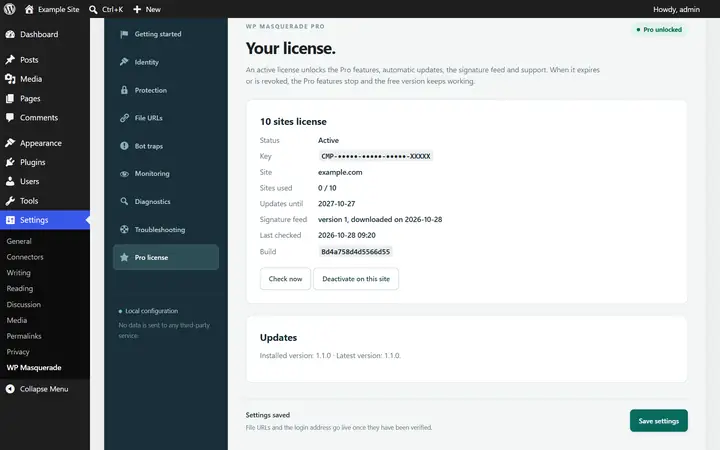
Expired license or deactivated plugin: what happens to the plan?
- Expired or revoked license: Pro features stop, but a plan that was already verified keeps applying, for safety. Your site never breaks because of the license. To change the plan, you need an active license.
- Pro plugin deactivated or deleted: the rewriting lives in Pro, so your pages go back to /wp-content/ URLs. Remove the alias server rules first, especially at level 4, which blocks the old URLs. If that blocking is active, the Plugins screen asks for confirmation before deactivation.
Naming rules
- paths relative to the site, with no leading or trailing slash;
- lowercase letters, digits, and hyphens, with sub-paths separated by a slash (e.g.
sites/default/files); - each segment starts with a letter;
- no names reserved by WordPress, no duplicates, and no folders nested inside one another.
Limitations and precautions
- Only supported static files are rewritten. URLs inside the CSS and JavaScript files themselves stay unchanged, as do plugin-specific signatures (CSS classes, script names).
- Plugin and theme folder names still appear under their alias: anonymizing them individually is not supported.
- Blocking the old URLs doesn’t protect against exploitation of a vulnerable plugin: it doesn’t block all of its PHP files.
- You need a small image in the Media Library to verify the media alias.
- Multisite installs, installs with separate URLs, or sites serving their files from an external CDN are not supported without an adapter.
- Reserve the blocking level for sites whose hard-coded URLs and cache optimizations have been audited. Make the switch on a staging site first.
Start free, upgrade to Pro when you’re ready
The free version already hides WordPress, moves the login page, blocks XML-RPC and counts bots. Pro locks down logins, renames file URLs and monitors your sites for you: known vulnerabilities, core integrity, activity log, email alerts and the update status of all your sites in your member area. From €59 per year excl. tax, far less than the cleanup offers whose prices we checked. Compare the costs.